Summary
Flutter is one of the frameworks to build apps, primarily focusing on the mobile. It is cross-platform so for Both Android and iOS. Their official website says:
Google’s UI toolkit for building beautiful, natively compiled applications for mobile, web, and desktop from a single codebase.
On May 12, 2022, its latest major version, 3 was released.
I built the development environment on Artix Linux based on Arch Linux due to the official documentation of Flutter. This post shows how I did it.
As a reference, Arch Linux offers their original wiki page about Android.
Environment
- OS: Artix Linux
- App Framework: Flutter 3
- Programming Language: Dart
- IDE: Android Studio
Tutorial
All doas from OpenBSD’s can be replaced with sudo.
Install dependencies
Pacman
Dart
Install Dart:
$ doas pacman -Sy dart
The output was:
:: Synchronizing package databases...
(...)
resolving dependencies...
looking for conflicting packages...

Packages (1) dart-2.18.6-1

Total Download Size:   118.65 MiB
Total Installed Size:  500.47 MiB

:: Proceed with installation? [Y/n] y
(...)
:: Processing package changes...
(1/1) installing dart                              [######################] 100%
Here, /opt/dart-sdk was created.
Android platform tools (Optional)
You may install android-tools which includes adb aka Android Debug Bridge and so on.
In order to get them, run the command lines below:
$ doas pacman -Sy android-tools
AUR
Get and install the packages below from AUR, Arch User Repository.
Flutter
$ git clone https://aur.archlinux.org/flutter.git
$ cd flutter
$ makepkg -sci
You will be asked which version of Java you install if it is the first time. Choose the defaults as far as you don’t have the specific reason to avoid:
:: There are 7 providers available for java-environment:
:: Repository world
   1) jdk-openjdk  2) jdk11-openjdk  3) jdk8-openjdk
:: Repository extra
   4) jdk-openjdk  5) jdk11-openjdk  6) jdk17-openjdk  7) jdk8-openjdk

Enter a number (default=1):
:: There are 2 providers available for jre19-openjdk=19.0.1.u10-3:
:: Repository world
   1) jre-openjdk
:: Repository extra
   2) jre-openjdk

Enter a number (default=1):
:: There are 2 providers available for jre19-openjdk-headless=19.0.1.u10-3:
:: Repository world
   1) jre-openjdk-headless
:: Repository extra
   2) jre-openjdk-headless

Enter a number (default=1):
looking for conflicting packages...

Packages (7) java-environment-common-3-3.1  java-runtime-common-3-3.1
             jdk-openjdk-19.0.1.u10-3  jre-openjdk-19.0.1.u10-3
             jre-openjdk-headless-19.0.1.u10-3  unzip-6.0-19  flutter-3.3.10-1

Total Download Size:    117.10 MiB
Total Installed Size:  1622.78 MiB

:: Proceed with installation? [Y/n] y
The output was:
:: Retrieving packages...
 jdk-openjdk-19.0...    78.7 MiB  3.67 MiB/s 00:21 [######################] 100%
 jre-openjdk-head...    38.1 MiB  4.00 MiB/s 00:10 [######################] 100%
 jre-openjdk-19.0...   181.6 KiB   439 KiB/s 00:00 [######################] 100%
(...)
(7/7) installing flutter                           [######################] 100%
Flutter was installed on /opt/flutter

In case you encounter problems using Flutter as regular user, add your user into the group flutterusers:
gpasswd -a ${USER} flutterusers

Re-login your terminal in to the group flutterusers:
newgrp flutterusers

Run the following command to see if there are any dependencies you need to install to complete the setup (for verbose output, add the -v flag):
flutter doctor
Optional dependencies for flutter
    android-sdk
    android-studio
    intellij-idea-community-edition
    intellij-idea-ultimate-edition
    ninja
    perl [installed]
    python [installed]
:: Running post-transaction hooks...
(1/2) Updating icon theme caches...
(2/2) Updating the desktop file MIME type cache...
==> Cleaning up...
Done. Go on.
$ cd ..
Android Studio
$ git clone https://aur.archlinux.org/android-studio.git
$ cd android-studio
$ makepkg -sci
In my case, android-studio-2021.3.1.17-1 was installed. Let’s go to the next.
$ cd ..
Android SDK
It is also required for development. There is, however, nothing to do here, for it will be installed in the first configuration of Android Studio later.
Configure Flutter
Add permission on /opt/flutter which is created in installing flutter:
$ doas usermod -a -G flutterusers <your-user>
Log out and log in again.
Andriod Studio first configuration
Start Android Studio.
You may be asked if you have something to import. I didn’t.

Initial setting up
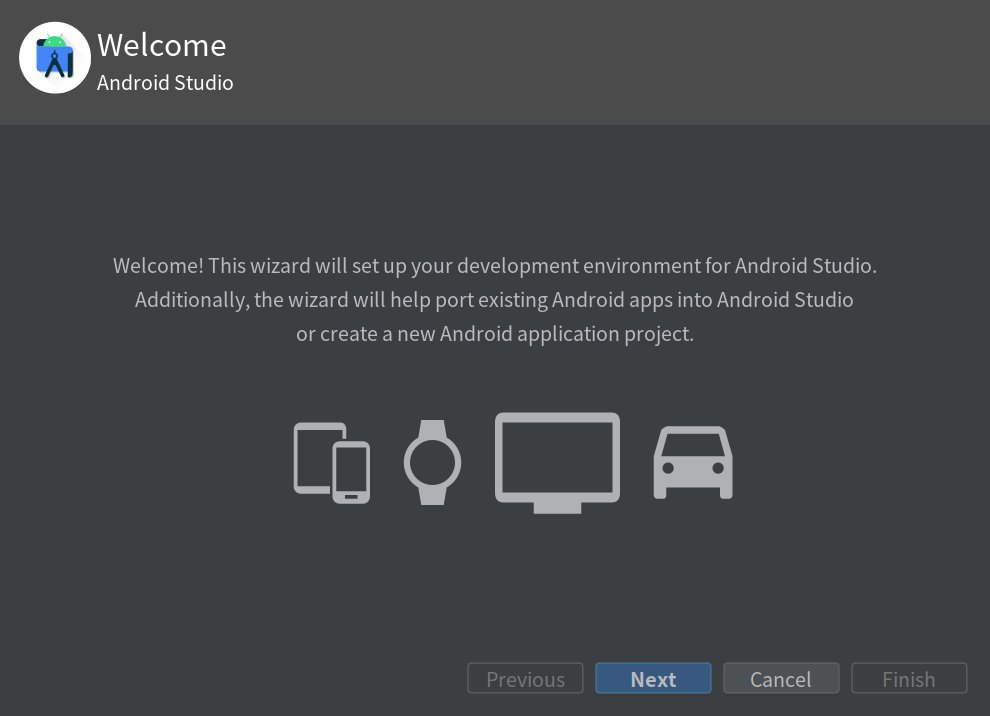
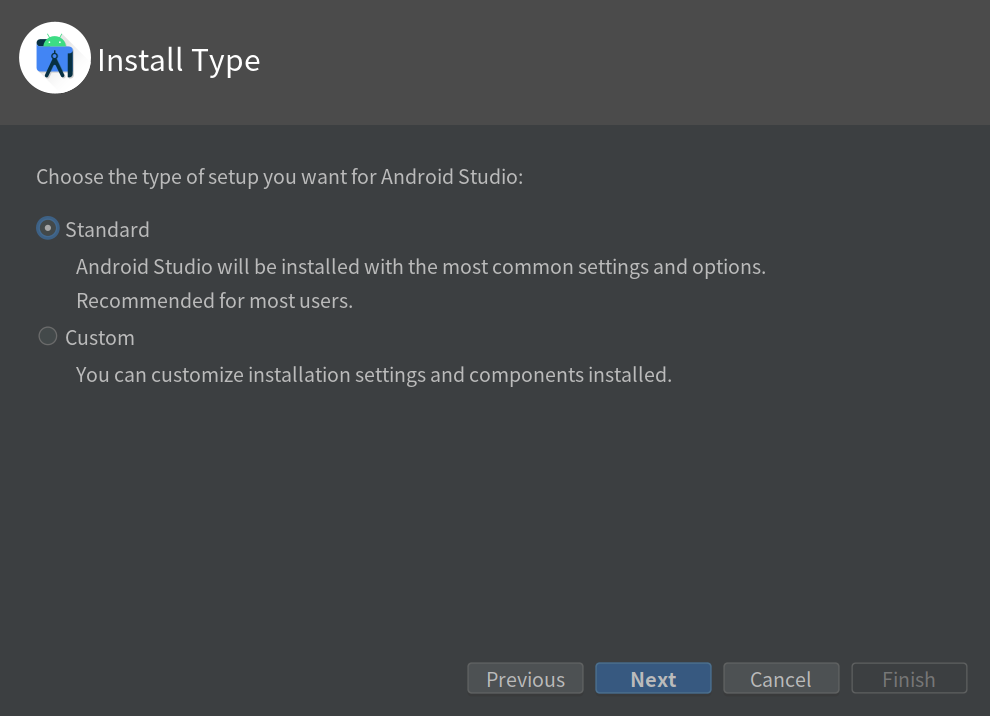
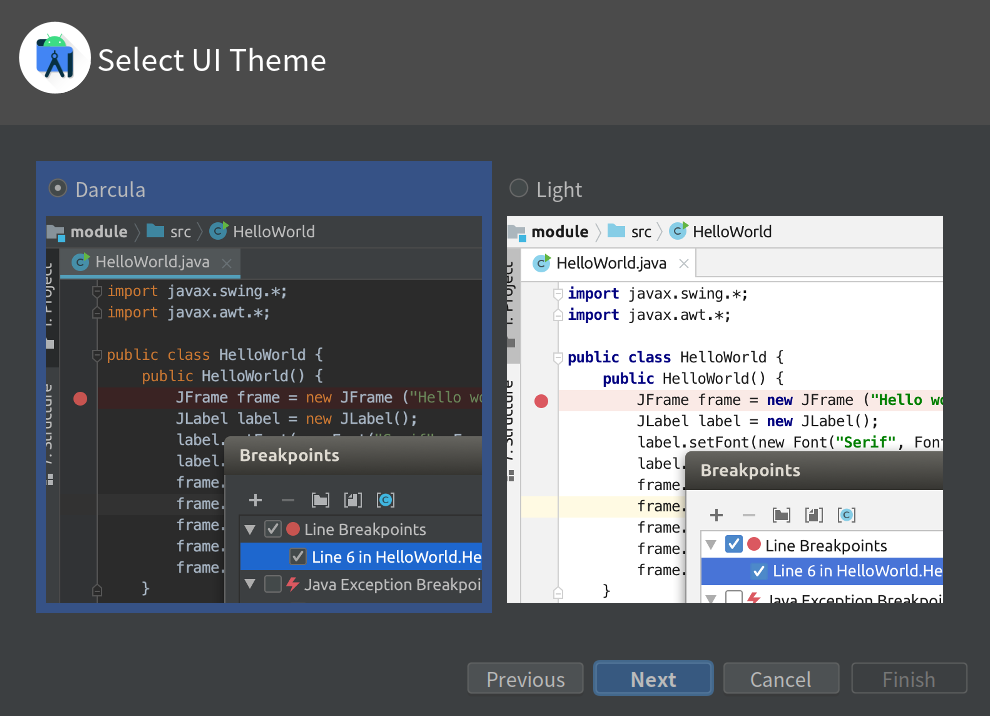
The first configuration will start. Choose your option on sending analytical data and so on, and click “Next” several times.
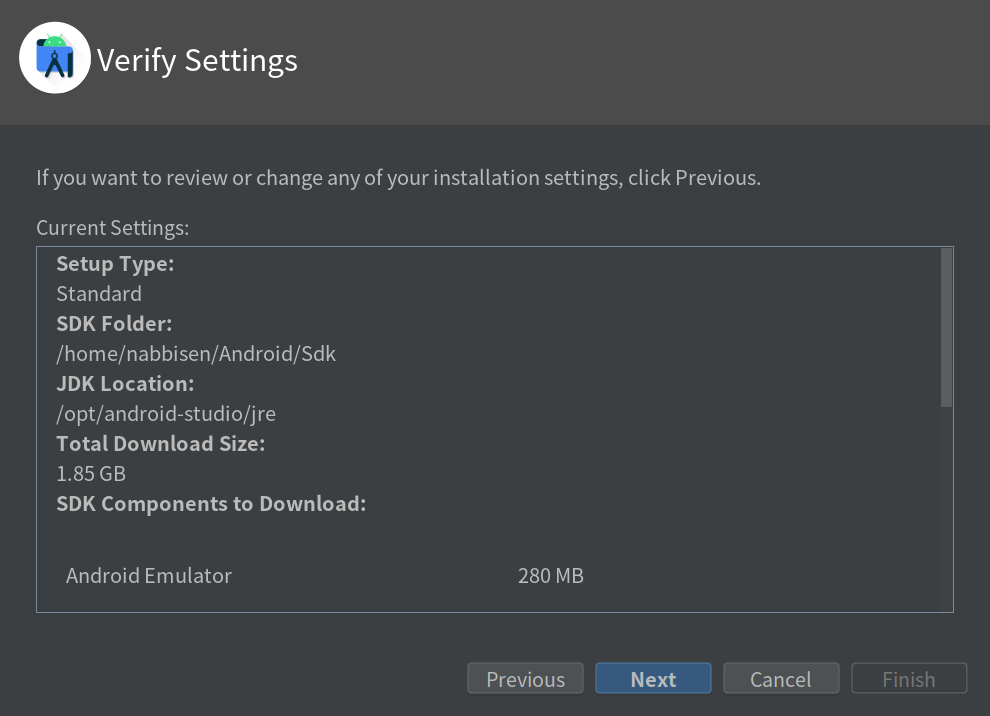
Here, the below was actually shown as current settings:
Setup Type: Standard
SDK Folder: /home/<your-user>/Android/Sdk
JDK Location: /opt/android-studio/jre
Total Download Size: 1.85 GB
SDK Components to Download:

Android Emulator

280 MB

Android SDK Build-Tools 33.0.1

53.4 MB

Android SDK Platform 33

64.2 MB

Android SDK Platform-Tools

7.16 MB

Google APIs Intel x86 Atom_64 System Image

1.41 GB

SDK Patch Applier v4

1.74 MB

Sources for Android 33

46.9 MB
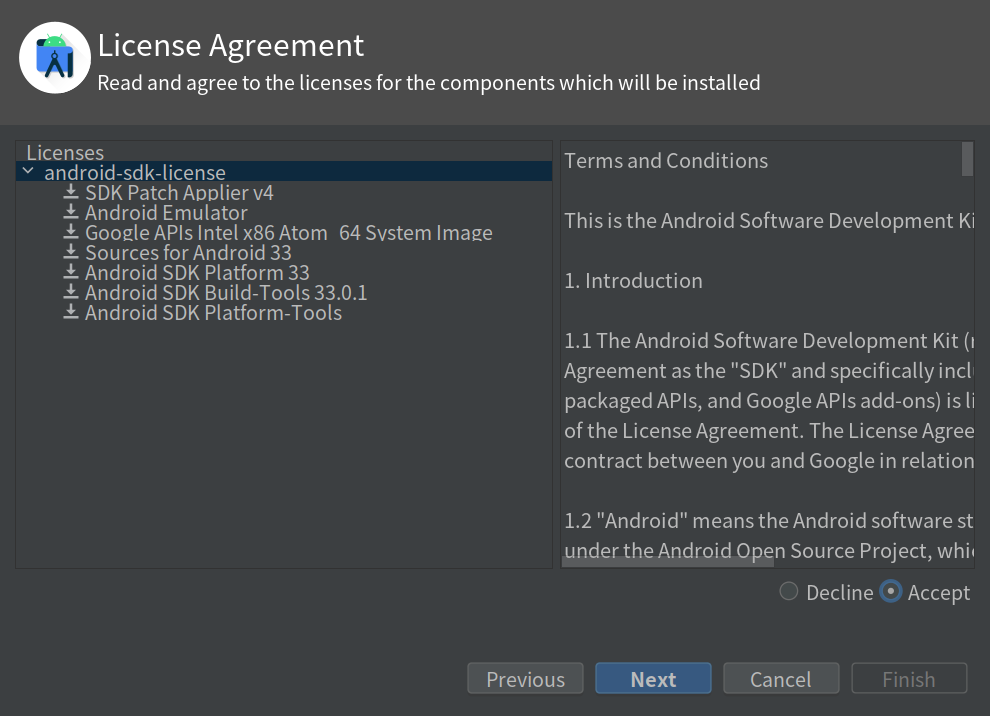
The next page is about License Agreement. You will be asked if you accept their licenses. Choose “Accept”, and “Next” will be enabled to go next:
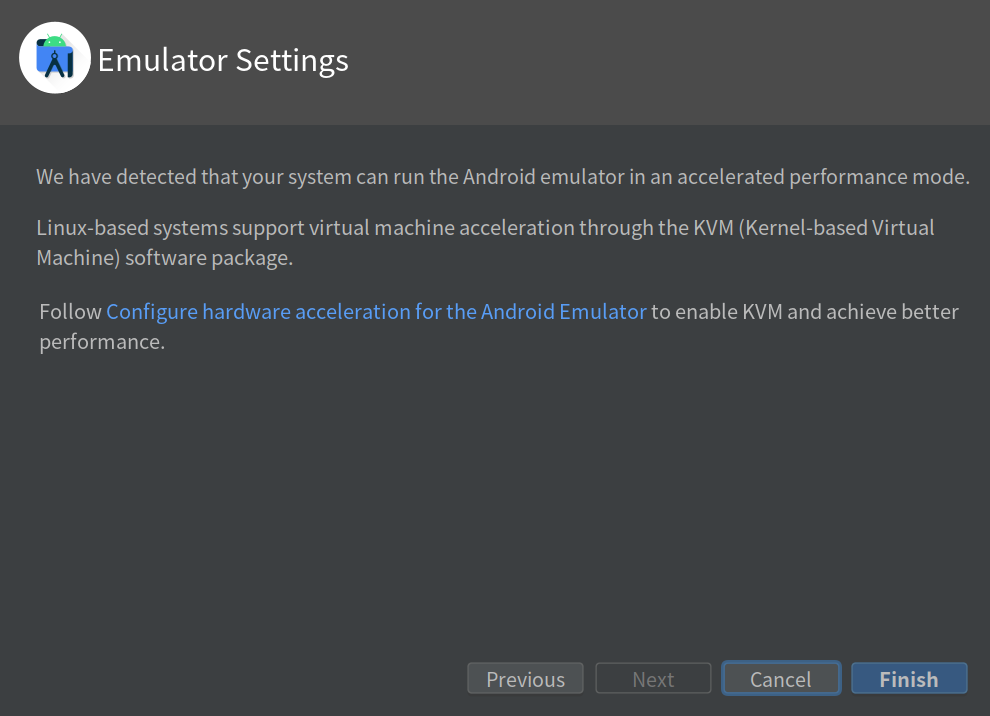
Clicking the “Finish” button below starts the installation of Android SDK and its platform tools.
Confirmation will show. Click “OK”.
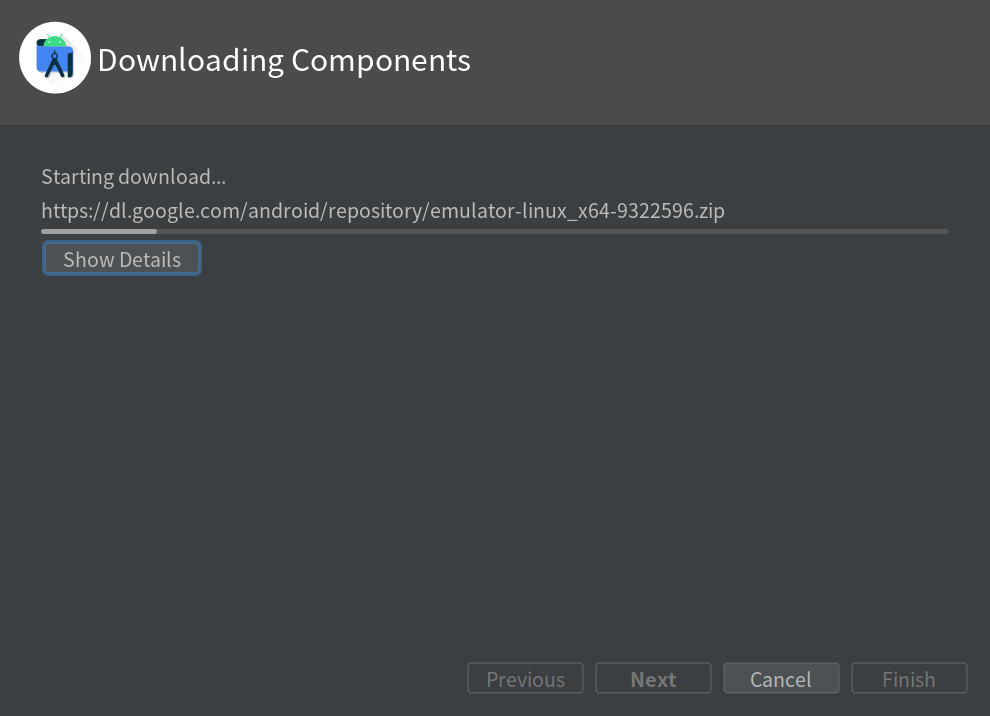
It will take time.
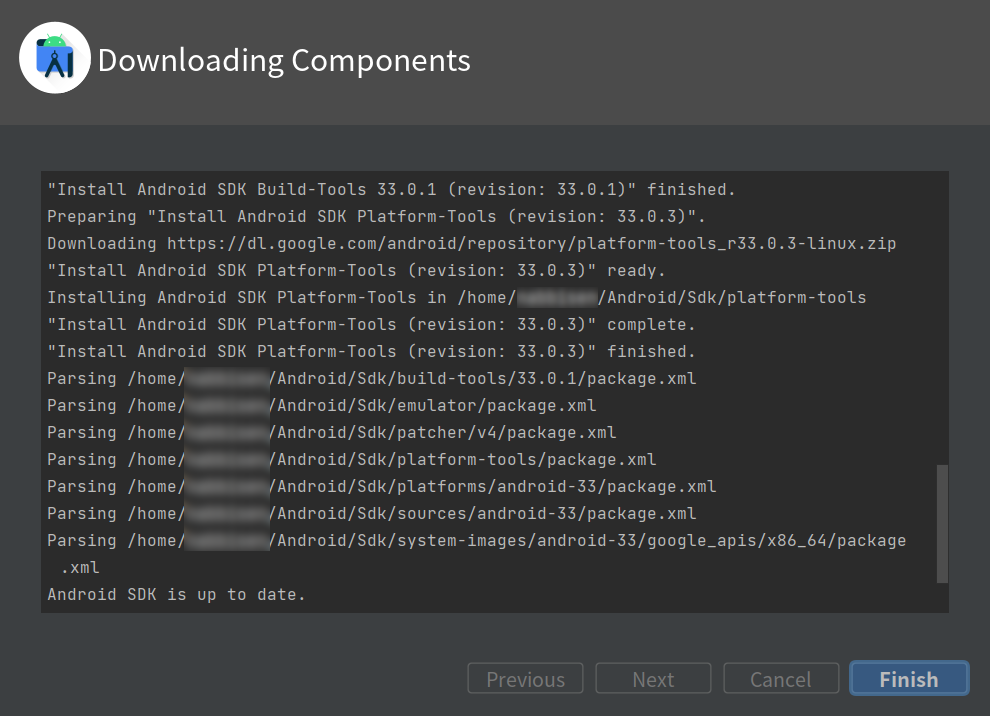
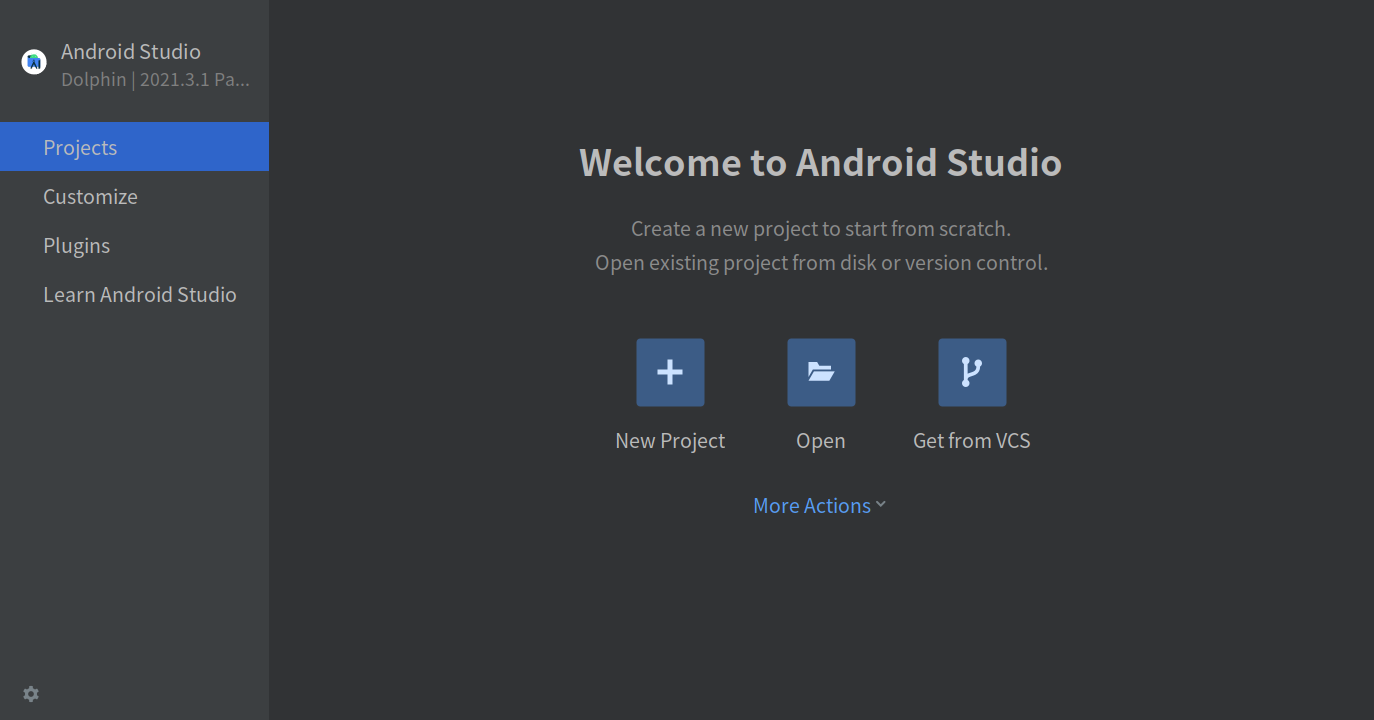
When it is finished, you will see the window below.
Install Plugins
Select “Plugins” menu. Then click “Install” on “Flutter”. You will be told to allow “Dart” to be installed at the same time, and also accept the terms:
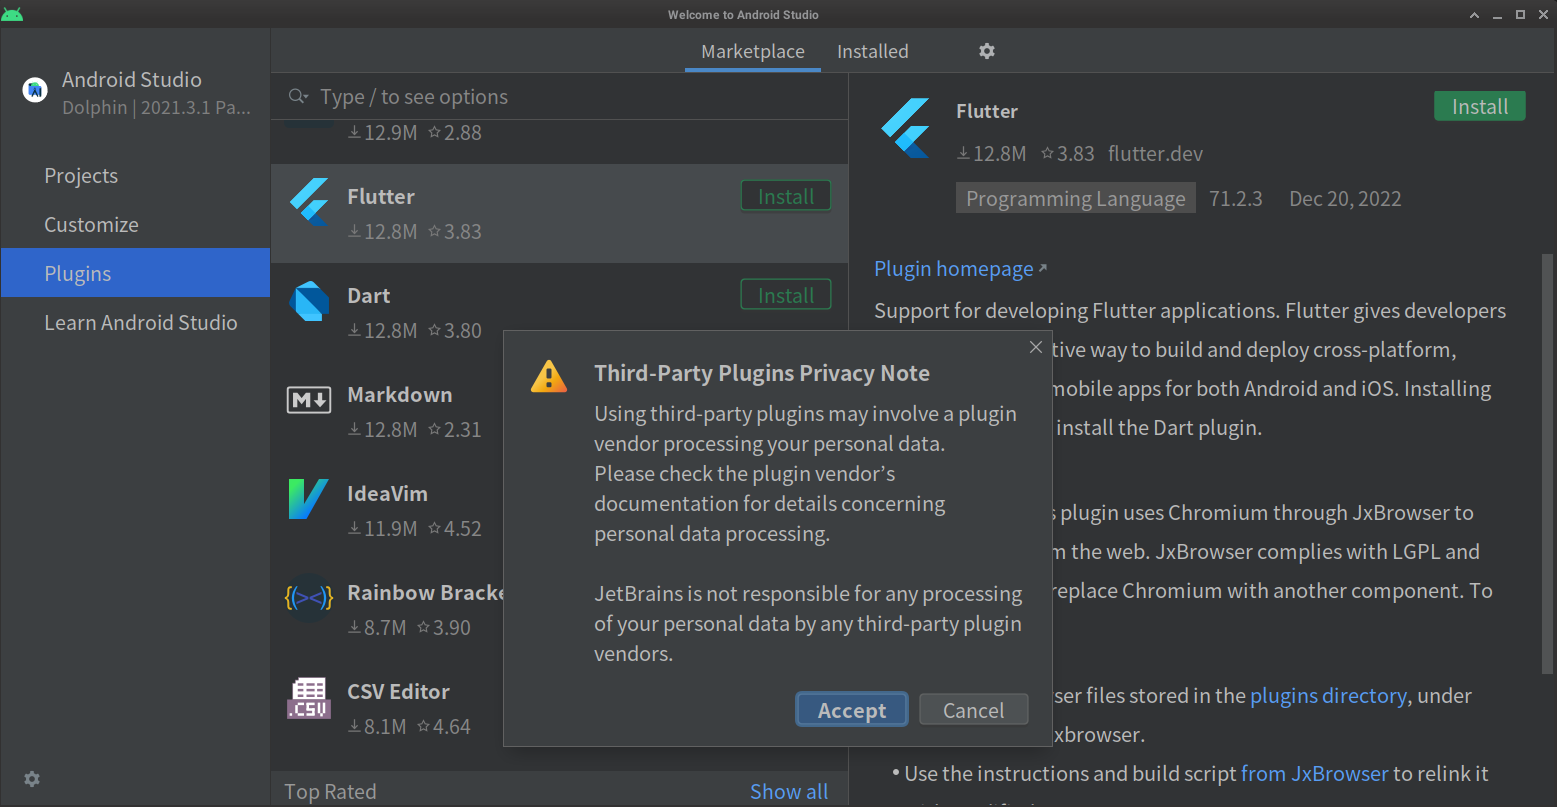
Click “Restart IDE” button to restart Android Studio.
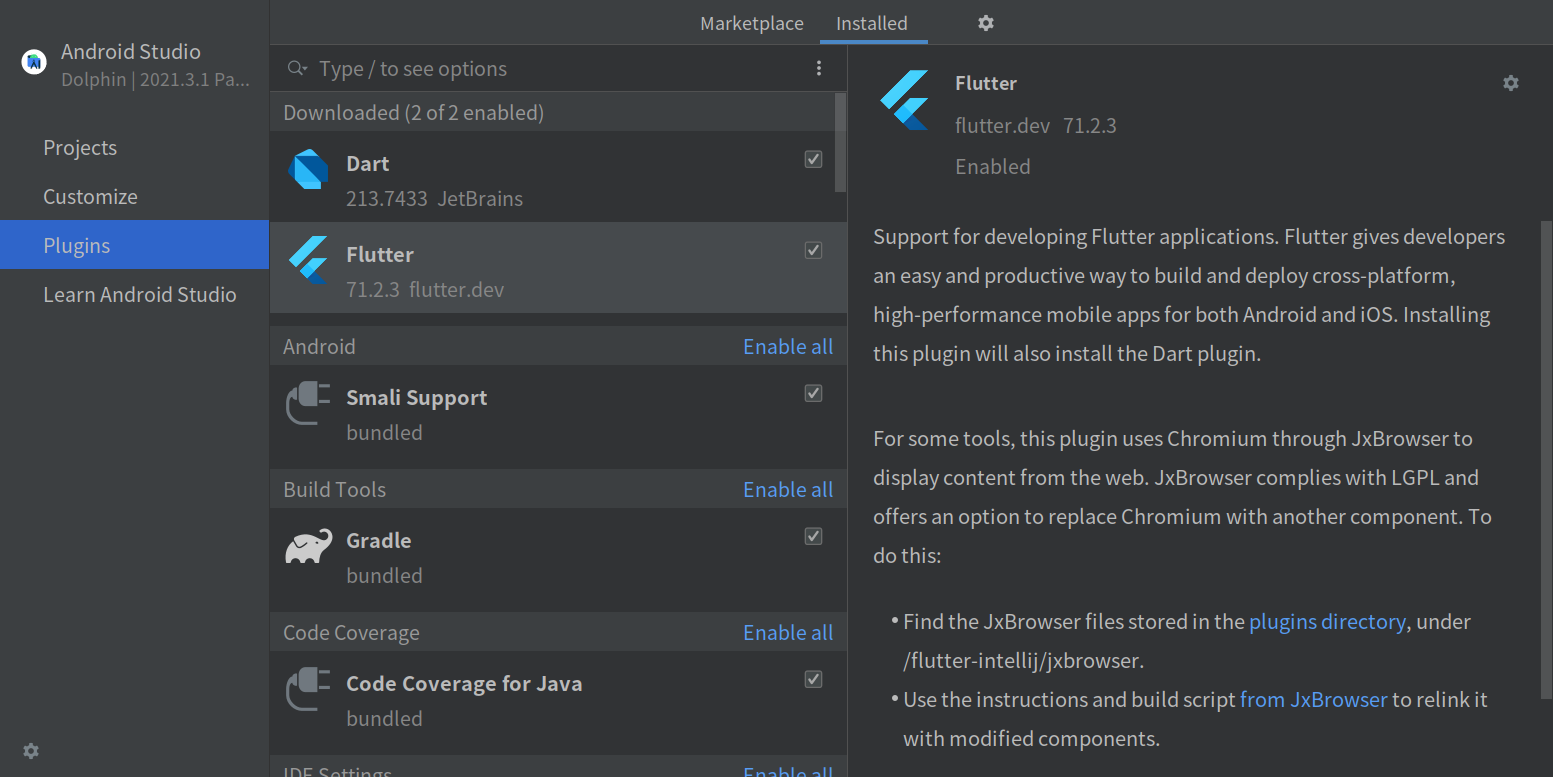
After finishing it, you will see them as “Installed” plugins:
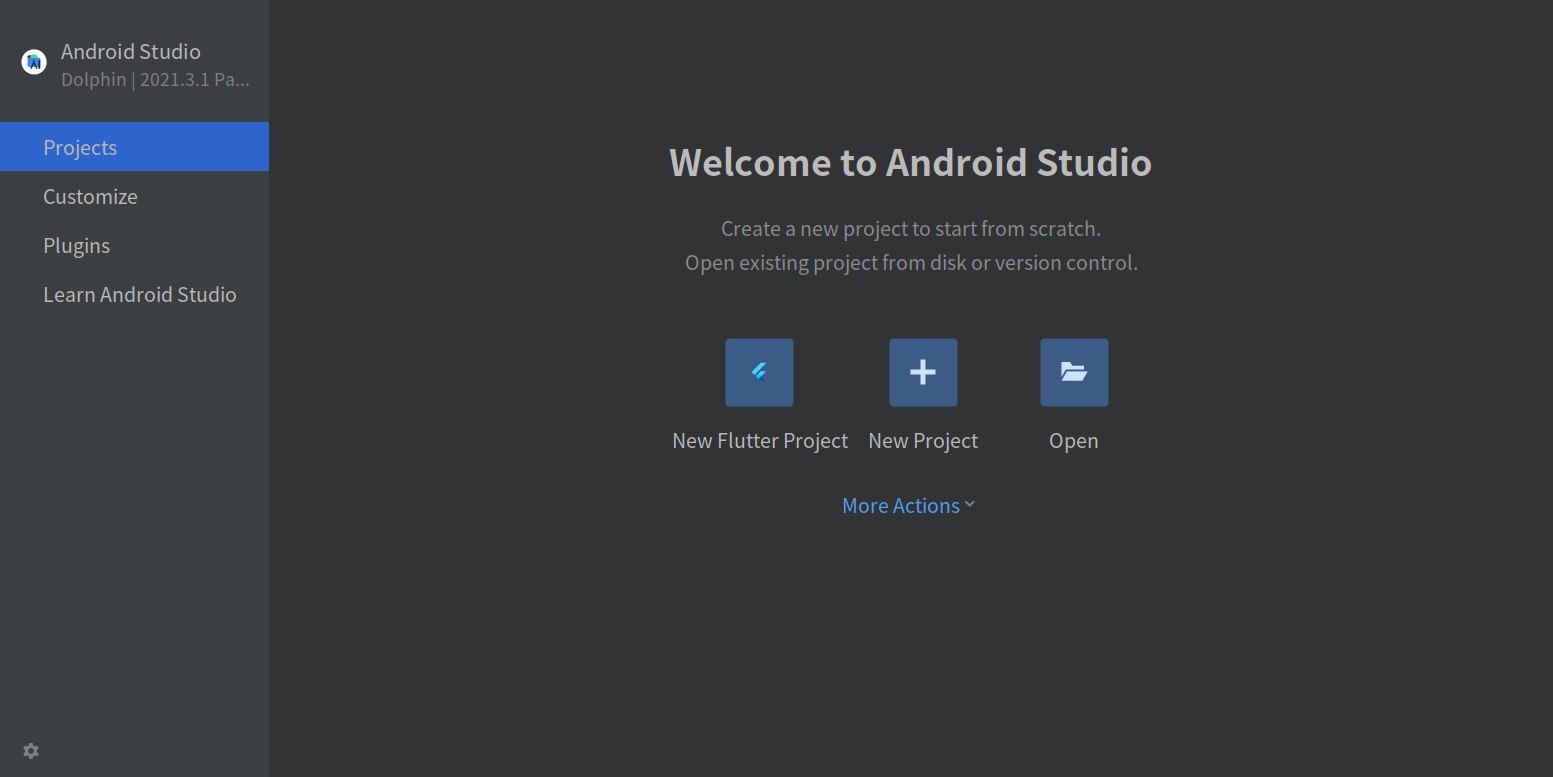
Create a Flutter project
Return to the top menu, and choose “New Flutter Project”:
Choose Flutter and set its path, /opt/flutter/, at “Flutter SDK path”:
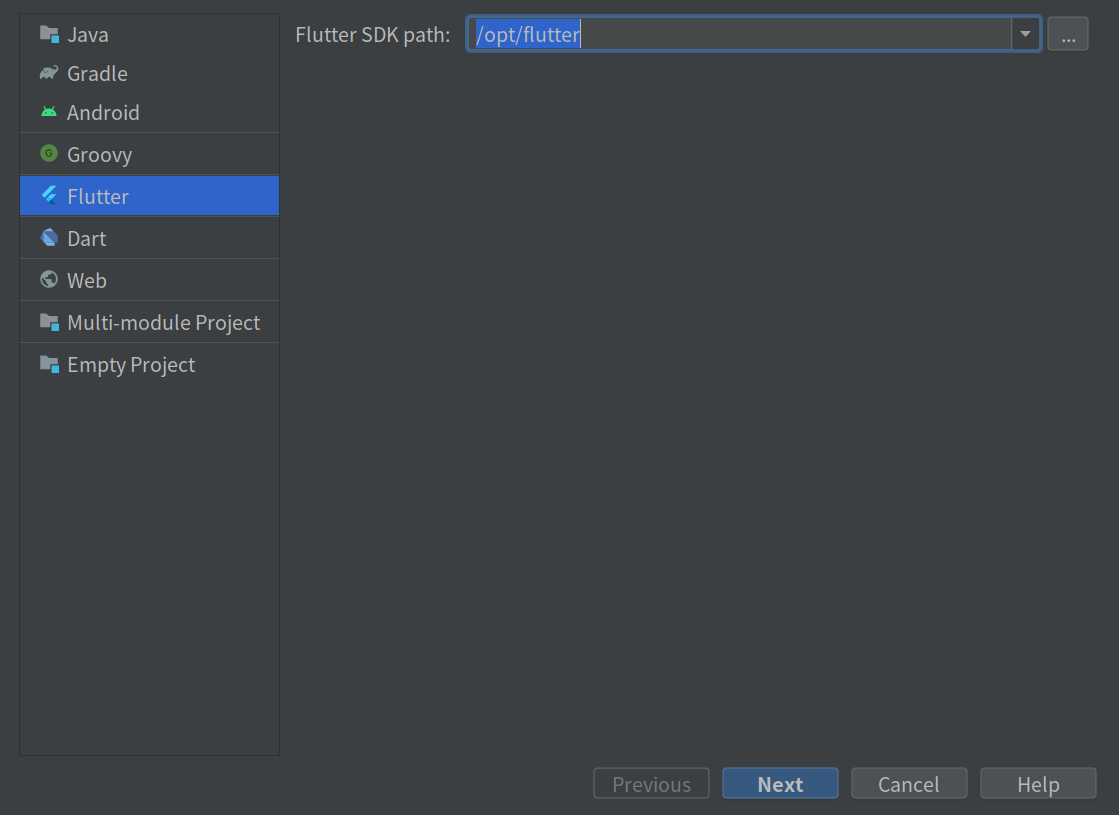
Go to the next:
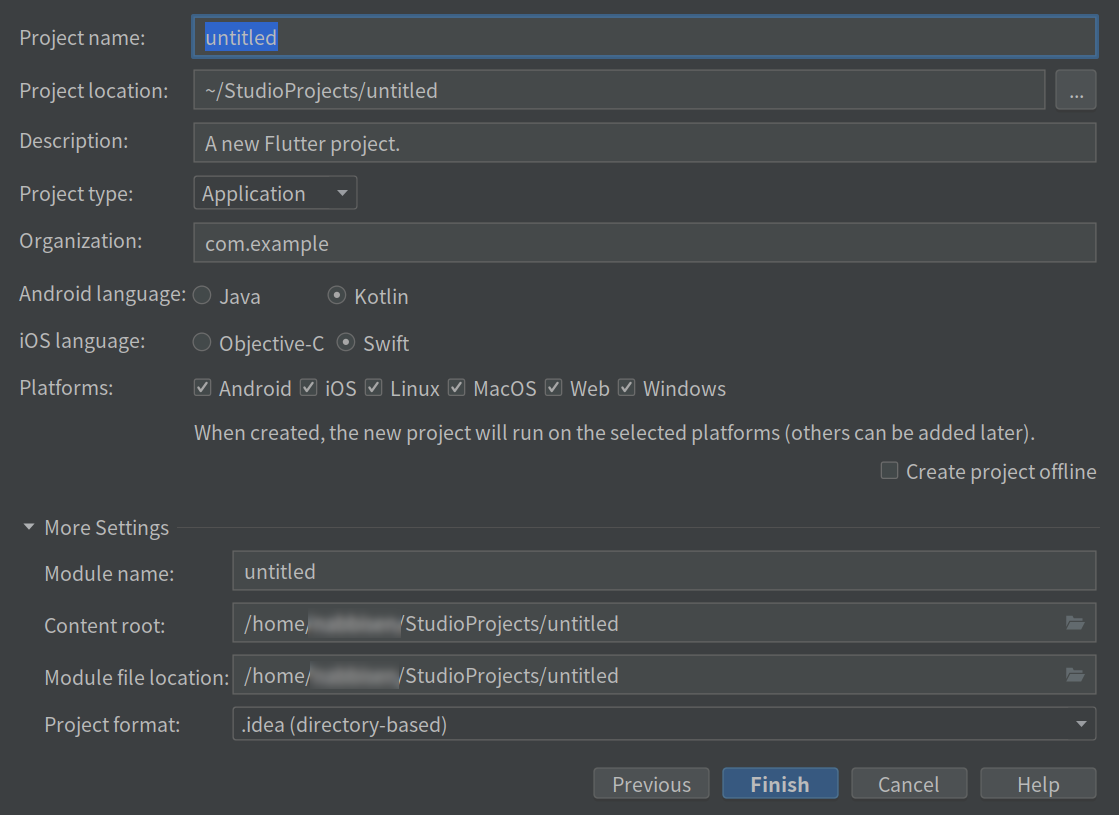
Confirm them and click “Finish”. Then the project files will be generated. And you will see the directory structure as tree view:
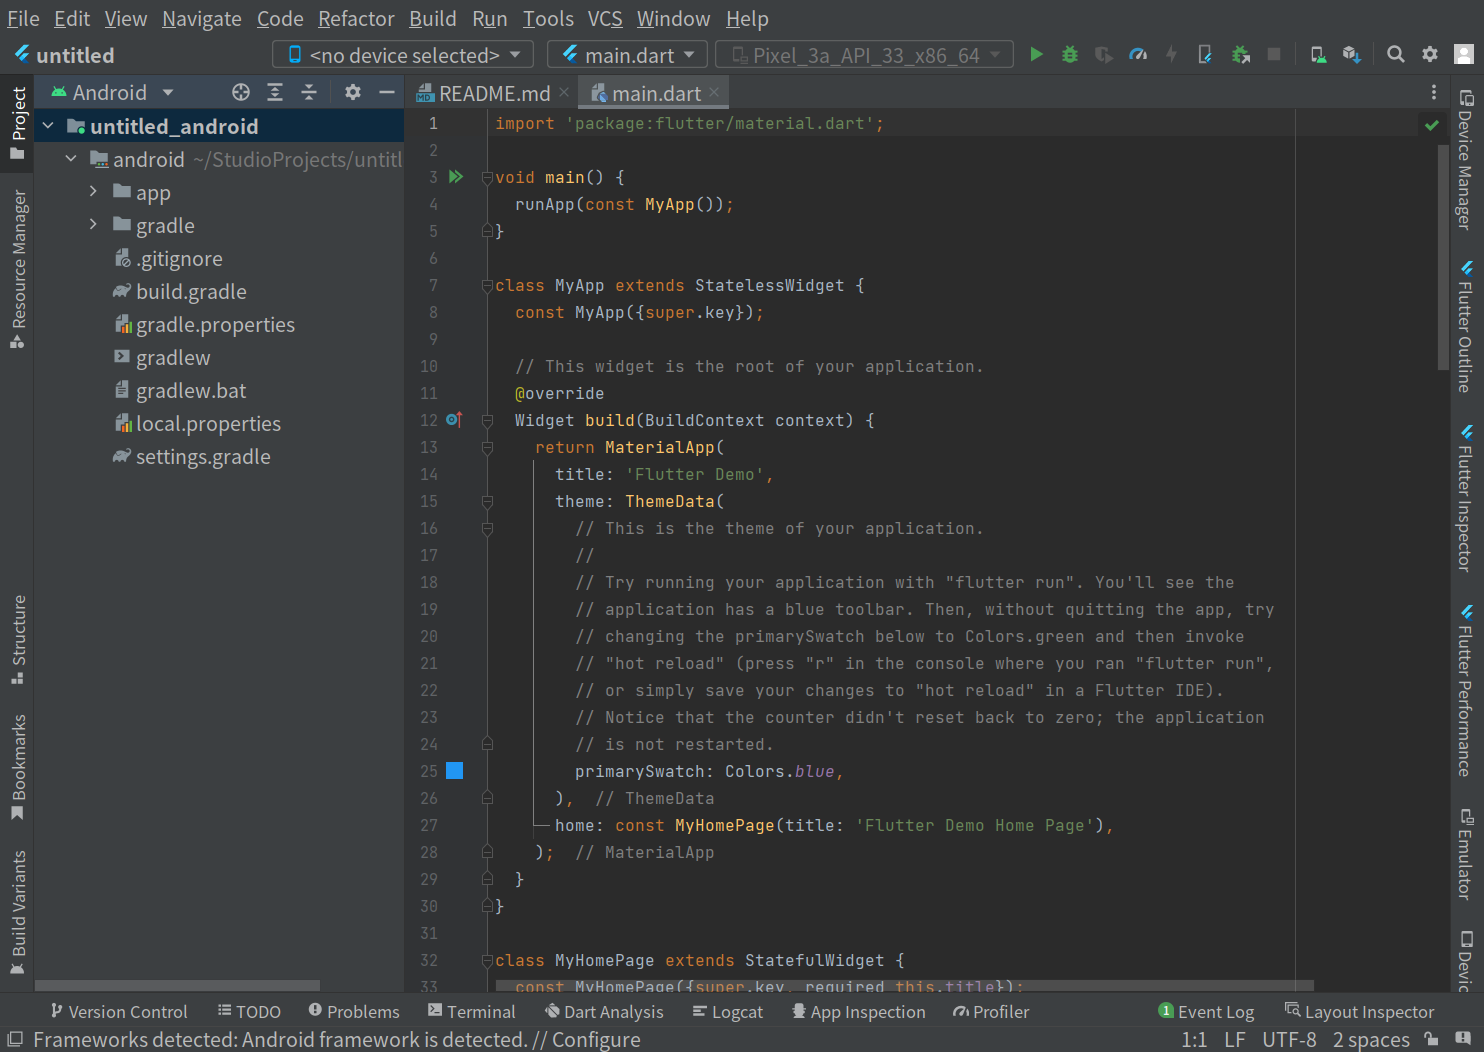
It looks so nice that we seem start to build an app right now !! Wait, however, please.
There is a couple of things to do before start coding. It’s for the “health” of flutter doctor 🏥 : Install Android SDK Command line tools.
Install cmdline-tools
Click “File” on the top menus. Then select “Settings…”:
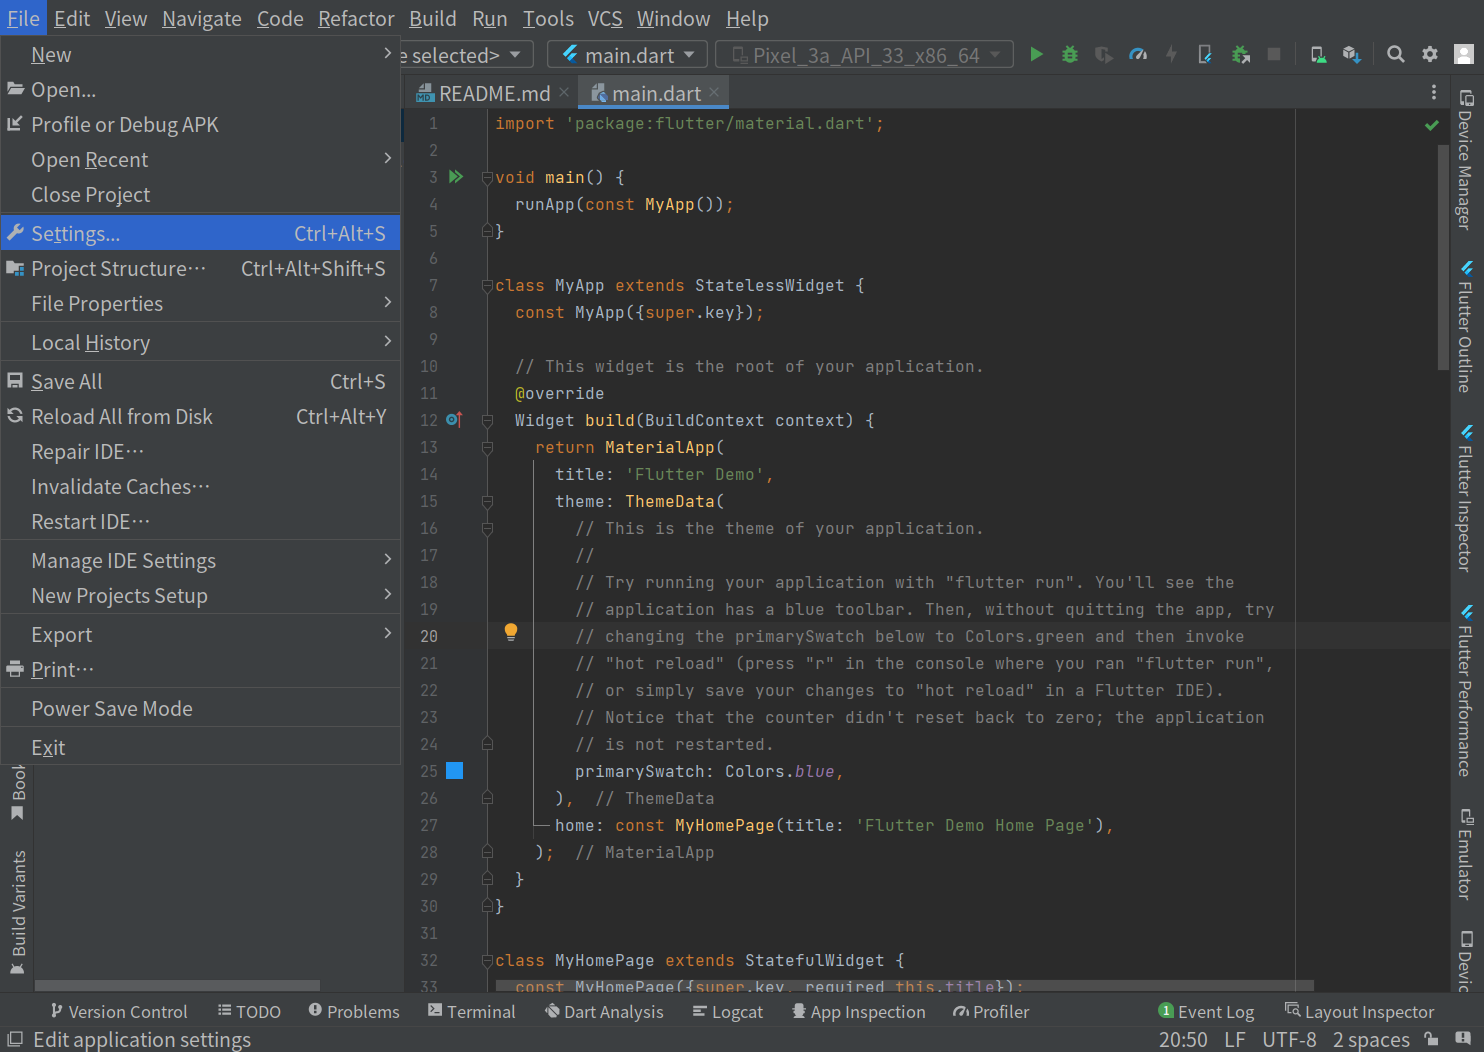
Go to “Android SDK” (here, search is useful) and open “SDK Tools”. Install Android SDK Command line tools:
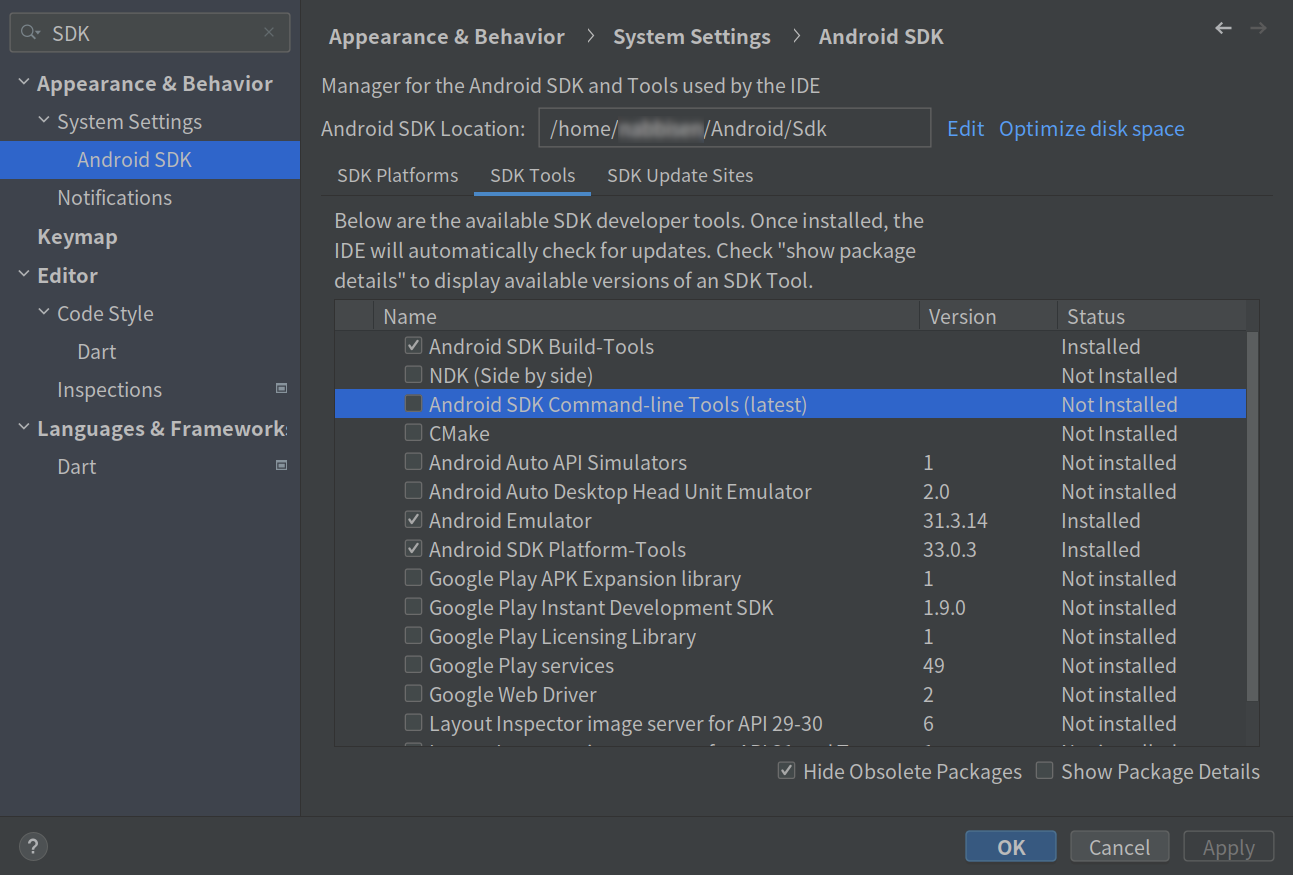
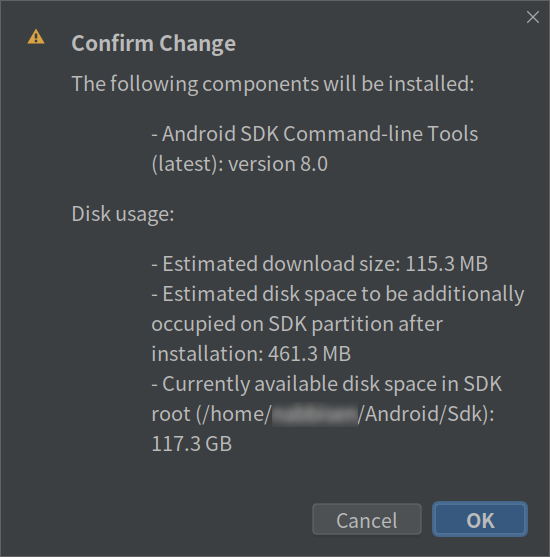
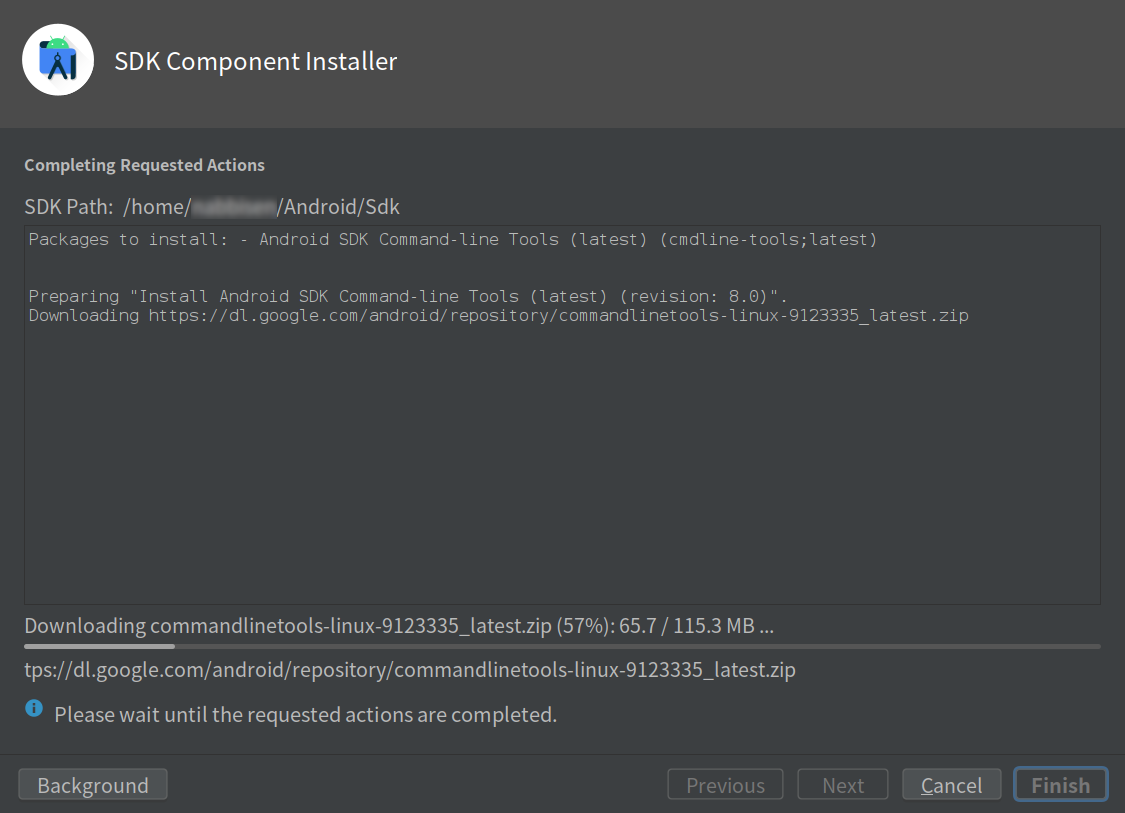
Now you have cmdline-tools so you can proceed flutter doctor to accept android licenses.
Run Flutter doctor to verify your project configuration
Open terminal.
First, run:
$ git config --global --add safe.directory /opt/flutter
It suppresses the error in running flutter doctor:
fatal: detected dubious ownership in repository at '/opt/flutter'
Then, run flutter doctor with --android-licenses option in order to accept the Android licenses:
$ flutter doctor --android-licenses
You will be asked if you accept them:
[=======================================] 100% Computing updates...
5 of 6 SDK package licenses not accepted.
Review licenses that have not been accepted (y/N)? y
A part of the output was below. If there is a question or a problem, choose “y”(es) at every question.
[=======================================] 100% Computing updates...
5 of 6 SDK package licenses not accepted.
Review licenses that have not been accepted (y/N)? y

1/5: License
(...)
---------------------------------------
Accept? (y/N): y
All SDK package licenses accepted
Flutter doctor final check
After accepting all of them, run flutter doctor without any options, which will be successful as to execution:
$ flutter doctor
The output was:
Doctor summary (to see all details, run flutter doctor -v):
[✓] Flutter (Channel stable, 3.3.10, on Artix Linux 6.0.12-artix1-1, locale en_US.UTF-8)
[✓] Android toolchain - develop for Android devices (Android SDK version 33.0.1)
[✗] Chrome - develop for the web (Cannot find Chrome executable at google-chrome)
    ! Cannot find Chrome. Try setting CHROME_EXECUTABLE to a Chrome executable.
[✗] Linux toolchain - develop for Linux desktop
    ✗ clang++ is required for Linux development.
      It is likely available from your distribution (e.g.: apt install clang), or can be downloaded from https://releases.llvm.org/
    ✗ CMake is required for Linux development.
      It is likely available from your distribution (e.g.: apt install cmake), or can be downloaded from https://cmake.org/download/
    ✗ ninja is required for Linux development.
      It is likely available from your distribution (e.g.: apt install ninja-build), or can be downloaded from
      https://github.com/ninja-build/ninja/releases
    ✗ pkg-config is required for Linux development.
      It is likely available from your distribution (e.g.: apt install pkg-config), or can be downloaded from
      https://www.freedesktop.org/wiki/Software/pkg-config/
[✓] Android Studio (version 2021.3)
[✓] Connected device (1 available)
[✓] HTTP Host Availability

! Doctor found issues in 2 categories.
Oh, some issues were found. They can be solved by installing some packages or specifying an environment variable.
Install additional packages
$ doas pacman -Sy clang cmake ninja base-devel
Here, at base-devel, choose pkgconf:
:: There are 27 members in group base-devel:
:: Repository system
   1) autoconf  2) automake  3) binutils  4) bison  5) debugedit  6) esysusers
   7) etmpfiles  8) fakeroot  9) file  10) findutils  11) flex  12) gawk
   13) gcc  14) gettext  15) grep  16) groff  17) gzip  18) libtool  19) m4
   20) make  21) pacman  22) patch  23) pkgconf  24) sed  25) sudo  26) texinfo
   27) which

Enter a selection (default=all): 23
Flutter doctor passes
When you don’t have google-chrome and want all checks passed, you have to bind CHROME_EXECUTABLE to some browser. For example, when you use chromium:
$ env CHROME_EXECUTABLE=chromium \
      flutter doctor
The output was:
Doctor summary (to see all details, run flutter doctor -v):
[✓] Flutter (Channel stable, 3.3.10, on Artix Linux 6.0.12-artix1-1, locale
    en_US.UTF-8)
[✓] Android toolchain - develop for Android devices (Android SDK version 33.0.1)
[✓] Chrome - develop for the web
[✓] Linux toolchain - develop for Linux desktop
[✓] Android Studio (version 2021.3)
[✓] Connected device (2 available)
[✓] HTTP Host Availability

• No issues found!
OK.
Run a demo app
Now we are ready for actual development. Let’s go back to the Android Studio project.
lib/main.dart is the primary file.
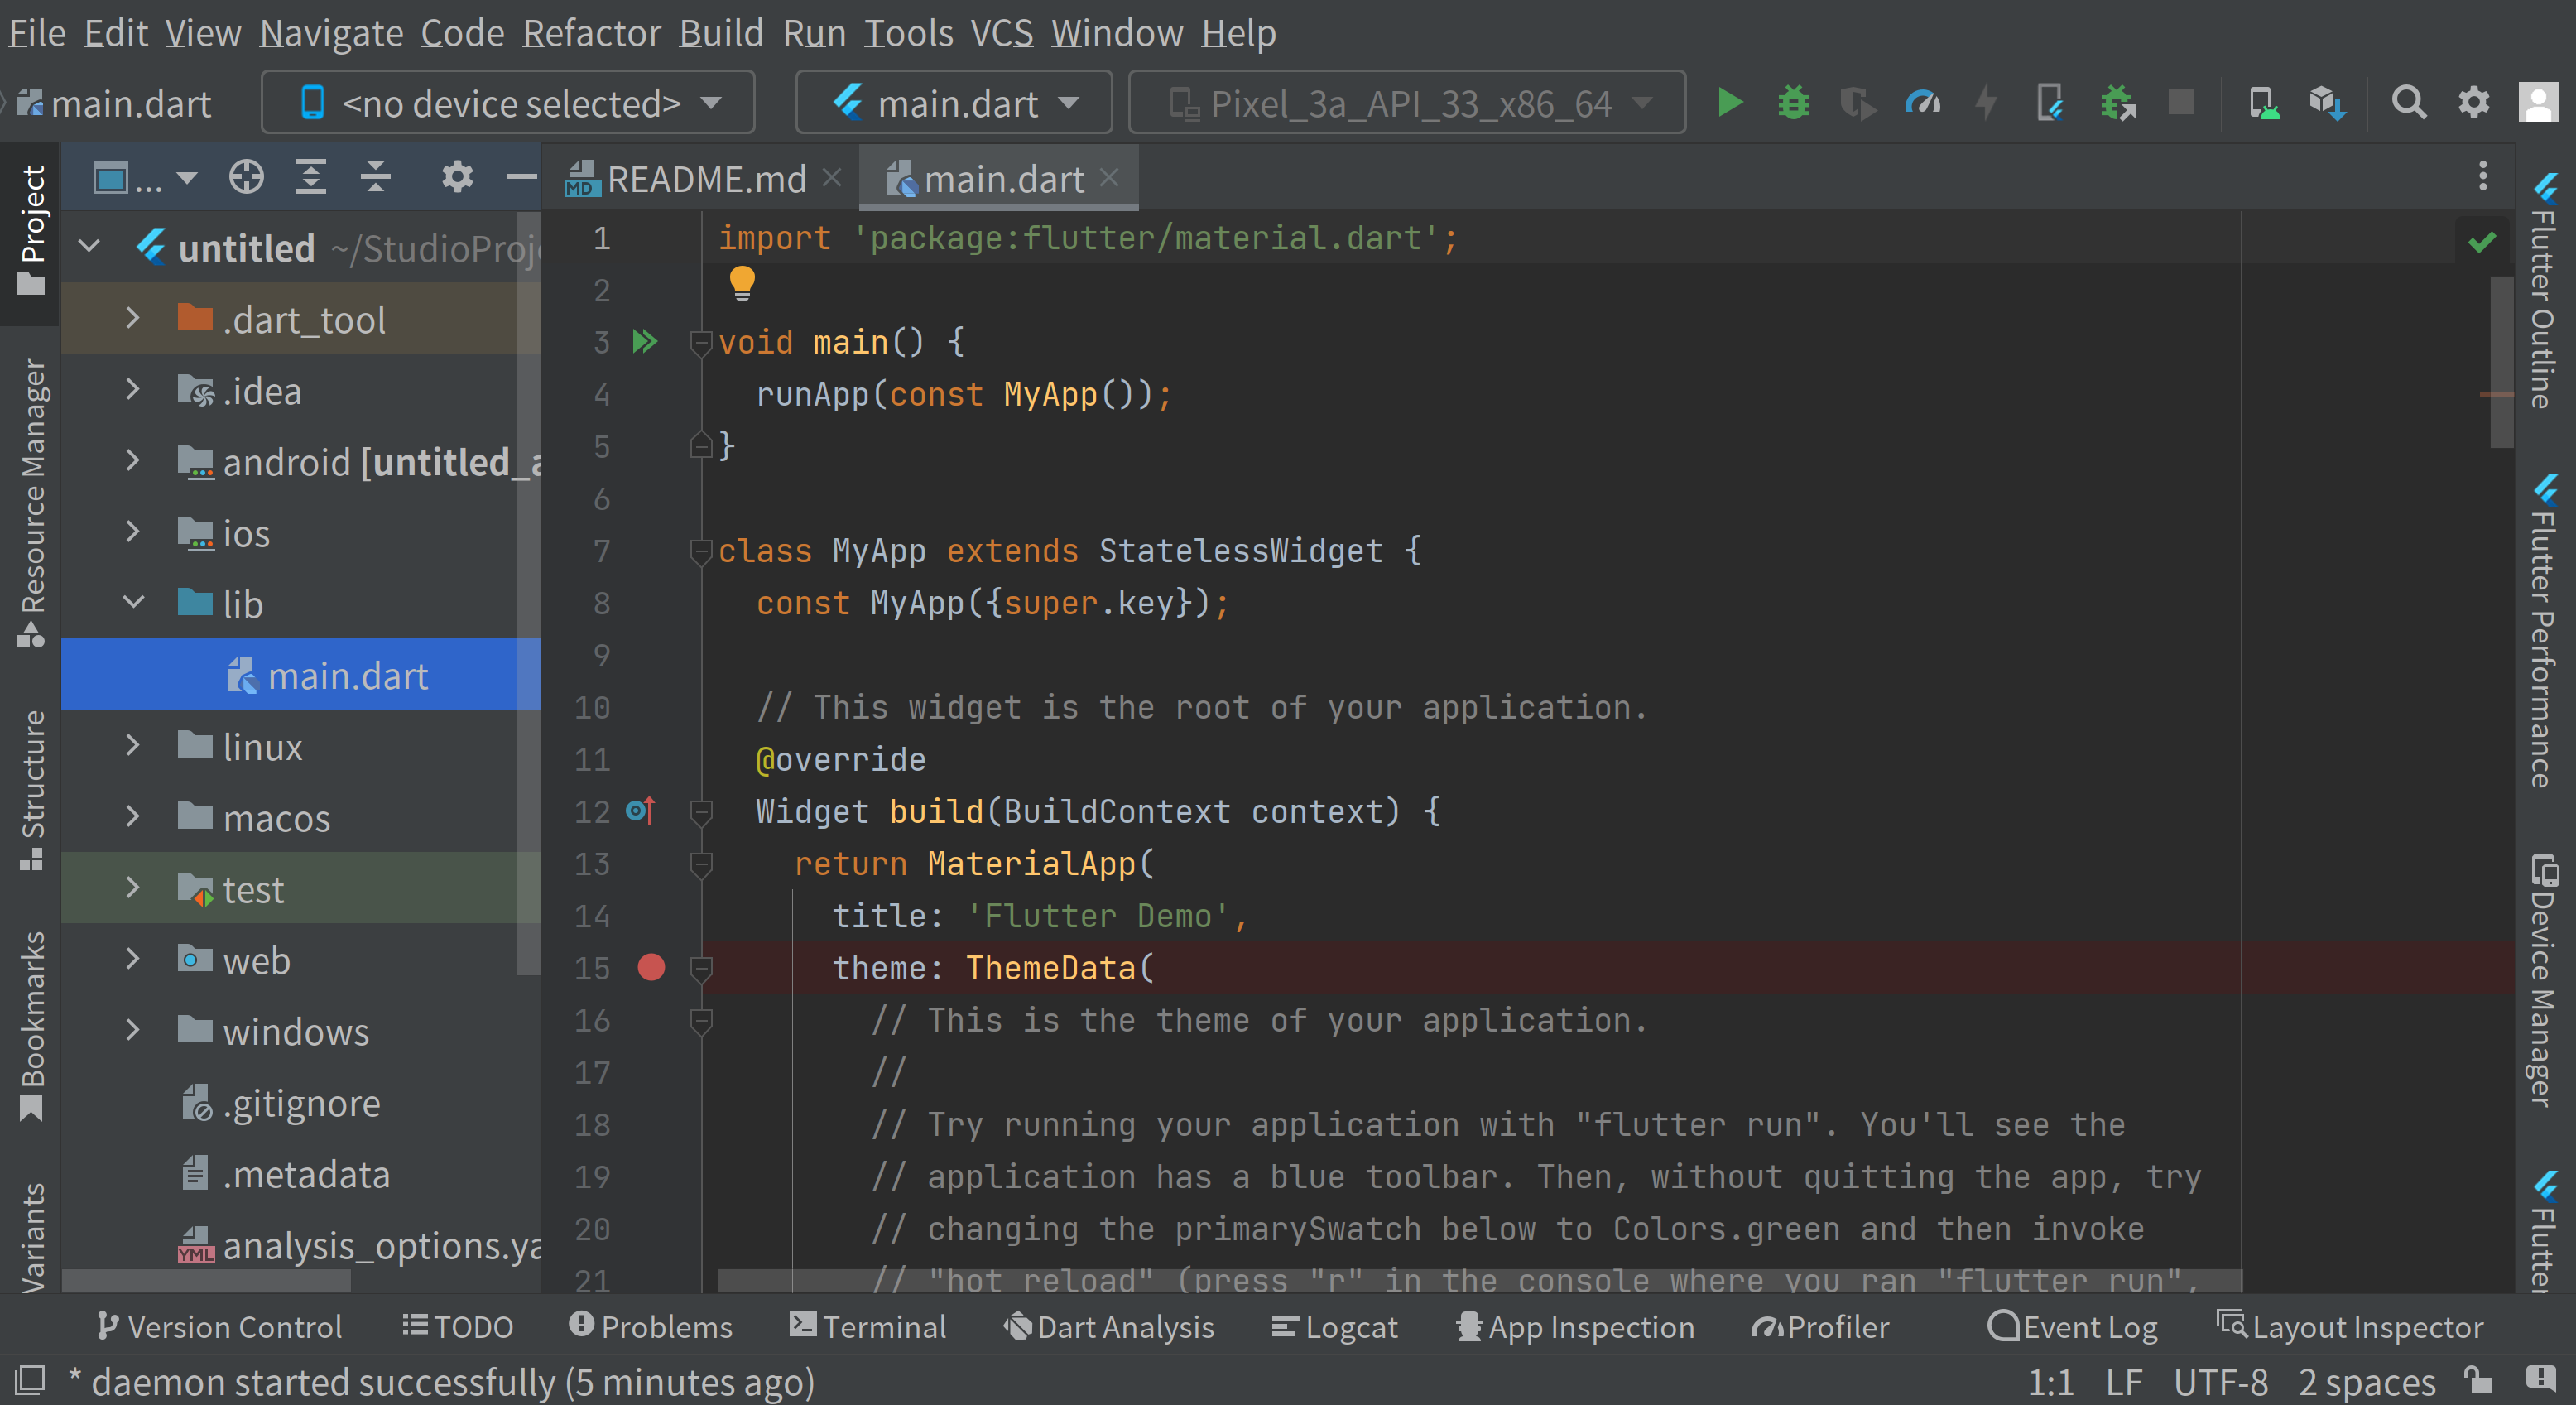
Well, your app is ready for running out of the box.
Click device form which shows “<no device selected>” and select “Open Android Emulator”:

Then you will see the emulator starts where your app, however, is not installed.
Next, click the green triangle icon above the emulator view. Alternatively, you can the top menus: “Run” - “Run ‘main.dart’ (Shift+F10)”.

Then, the Run view will be opened at the bottom of the IDE and it will show:

Running "flutter pub get" in <project-name>...
Launching lib/main.dart on sdk gphone64 x86 64 in debug mode...
Running Gradle task 'assembleDebug'...
It will perhaps take long. When it is finished, you will see:
✓  Built build/app/outputs/flutter-apk/app-debug.apk.
Installing build/app/outputs/flutter-apk/app.apk...
Debug service listening on ws://127.0.0.1:46365/lxkuYf04cFo=/ws
Syncing files to device sdk gphone64 x86 64...
E/SurfaceSyncer( 6647): Failed to find sync for id=0
W/Parcel  ( 6647): Expecting binder but got null!
Also what the emulator shows will be updated:
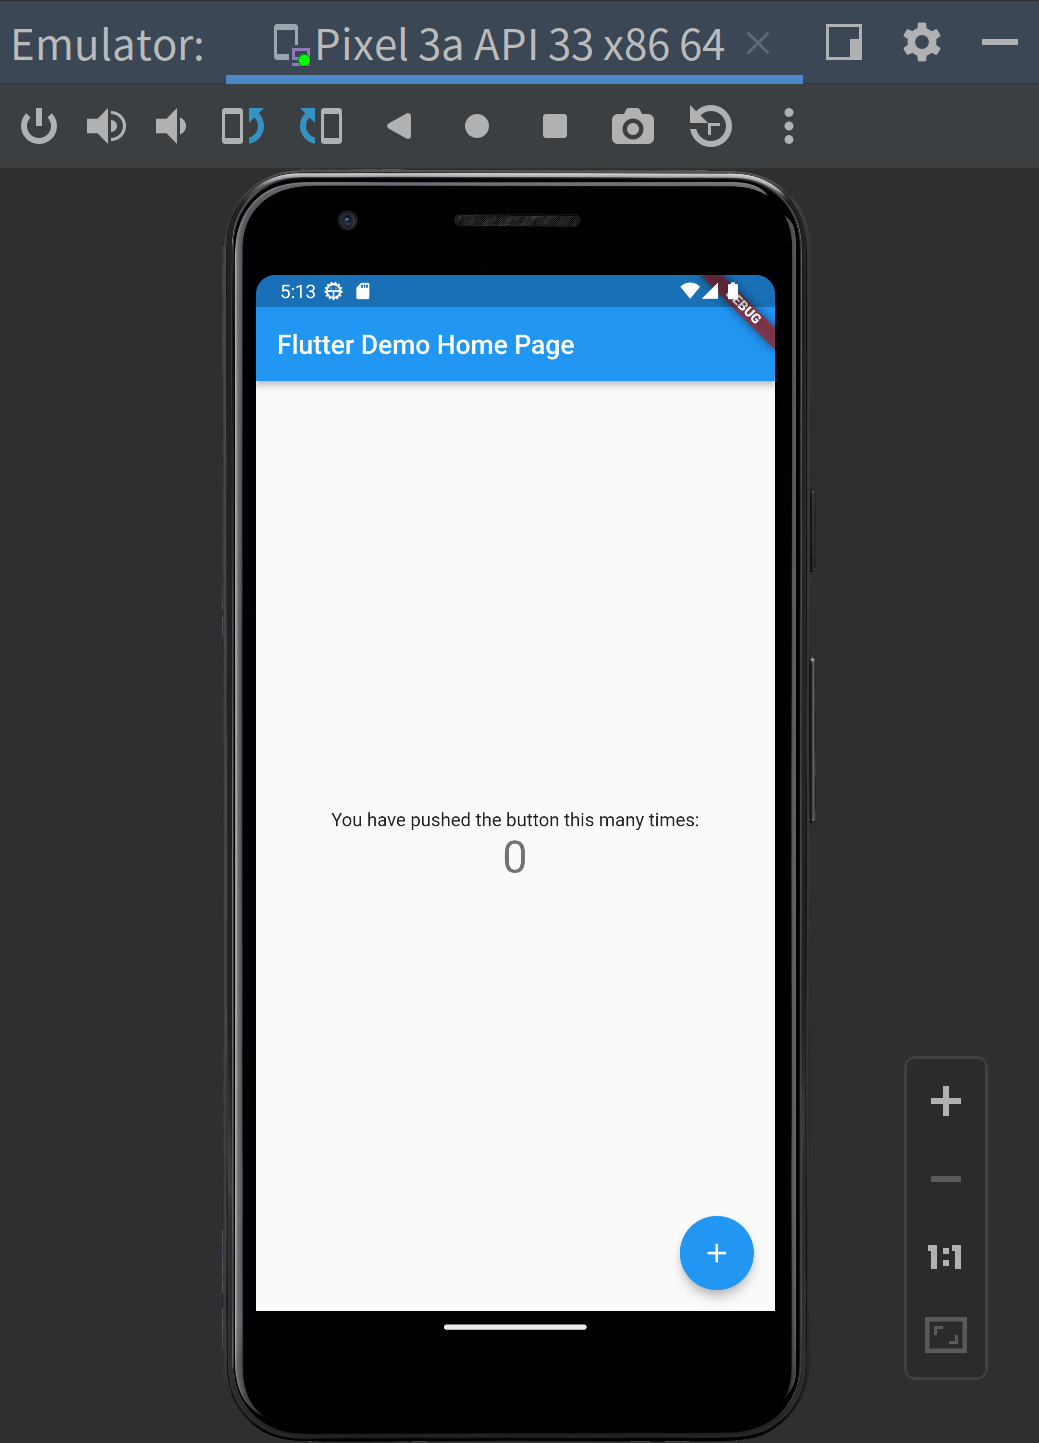
You can click the button to count up.
Conclusion
Now you have a flutter project ready for development and deployment (but not for production).
There is another good news on it.
Flutter supports hot reload.
For example, modify line 25 in lib/main.dart as below, and save it:
-         primarySwatch: Colors.blue,
+         primarySwatch: Colors.deepPurple,
The emulator view will change instantly:
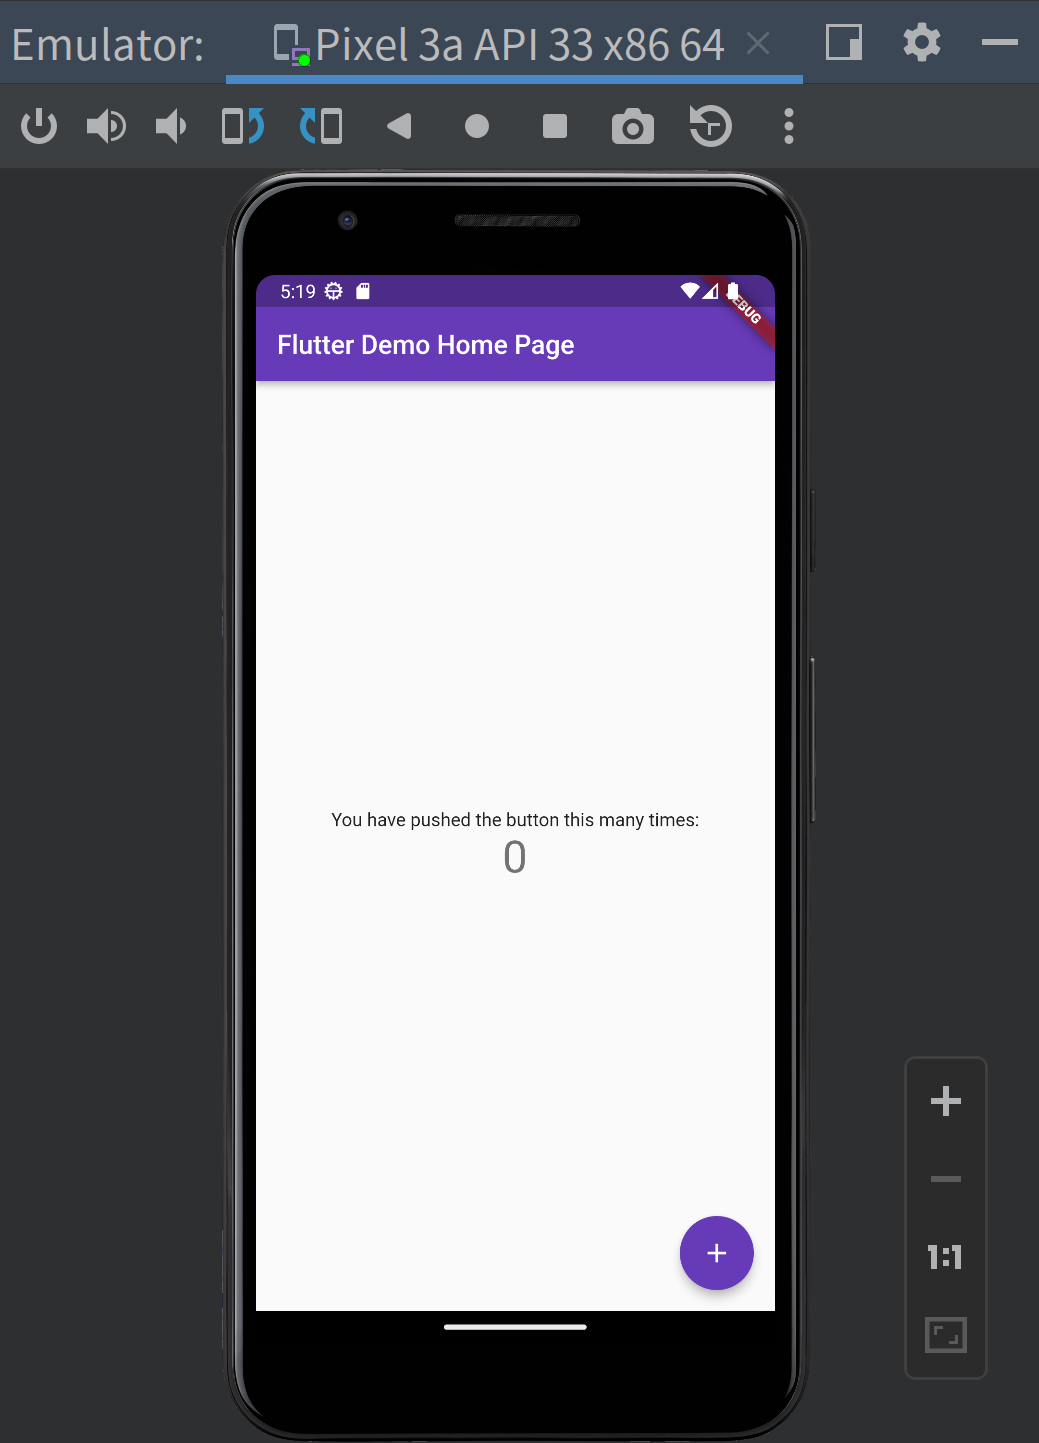
Yay. Your Flutter 3 app started to get rocks 😃